
Texture Maps With Zero Texture Painting:
I figured something out cool today. It's about textures and how you can manipulate a single texture and a model's UVs to create patterns that you can apply in multiple places. The biggest manipulated factor is not the texture itself though, but the manipulation of the UV itself.
Doing a lot of work in Hammer also lead me to believe that there's gotta be a different way then I've been trying to achieve texture. So here we go.

Fun Texturing Technique - UV Manipulation With Base textures
1) Model (with a checkered texture unwrapping as you go, Chun style :D)
2) When the model is at a done point (or even before that) apply a texture that will encompass the material the model is made of (wood, metal, ect).
3) Grab the UVs of the model and manipulate them. The easiest thing IS to separate the different parts into shells to control the distortion, or even separate meshes if needed (Suzanne style :D). Having separate shells also makes it easy to add a second and third map (texture) to the equation to have different materials present (by grabbing the desired shell and converting to faces to apply the new material).
4) Also grab verts/edges/faces and pull them in crazy directions, squash the shell, stretch it, warp it--the results will be a different pattern of texture that will be later baked into your properly unwrapped mesh. This not only provides a preview of the final texture but lets you CREATE the base texture in real time, not just painting after unwrap.
5) You should also continue to model trim where needed--when you use this technique adding where trim should be will become very much apparent. Using details of seams in the model (like a welding seam in a metal texture for example) leads to awesome, real-time results.
6) Unwrap the model--keep the Frankenstein textured model on another layer
7) Perform Transfer Maps in maya in order to have the Frankenstein model's awesome texture information baked into the appropriately unwrapped model, which will result in the details of the Frankenstein model being placed directly onto a texture map as well.
(This is the baked out texture, after the model was duplicated and unwrapped, and the texture was transfered to the properly-laid out UV model with transfer maps. Heh, this unwrap isn't great but you can see how it's much different then the messy one pictured below).
8) Add spec and normals based on generated map
9) Use the generated diffuse map that was produced from Transfer Maps and paint over it, adding details and more polish to the base texture that was generated.

Discovered this as I was thinking about the new things I learned from a Maya book. UV manipulation is much more powerful of a tool for textures than anything else I've found in terms of iterating on a single texture, and getting a fast result without ANY texture painting.
Taking a single or only a couple of complex textures, I stretched the UVs of the mesh to create a new texture(squashing, stretching, ect.). This can really, really give a great result and an awesome way to preview the textures that will be later transferred when you do Transfer maps.
Photoshoping the resulting maps to get seams out and add batter detail will push the texture further, as well as the resulting normal and spec maps you can get out of it once the diffuse is done.
I'd like to put up a further explanation but that'll have to come later... :D I just thought it was a nice technique to share with others.

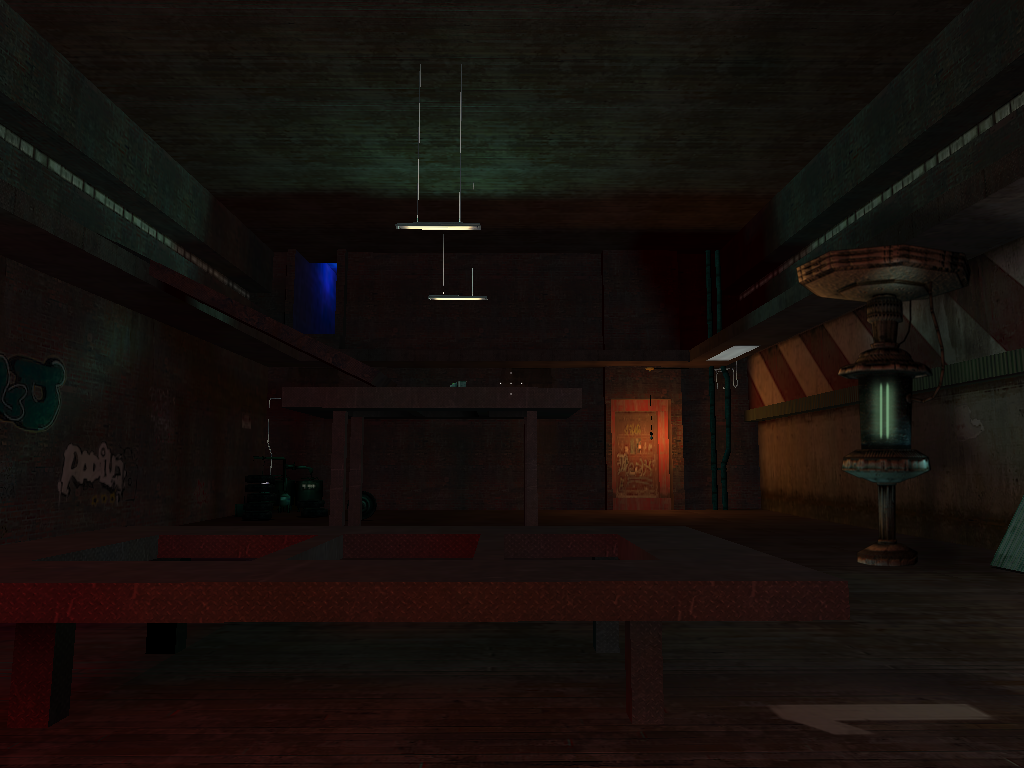
Did this environment this week for PRJs. More to come




.jpg)


